![(please configure the [header_logo] section in trac.ini)](/chrome/site/cardinal.gif)
Simulating 825 Gen2 App Operation
The development environment allows 825 app operation to be simulated. This saves time developing applications and allows for debugging. However, not all aspects of application operation can be simulated.

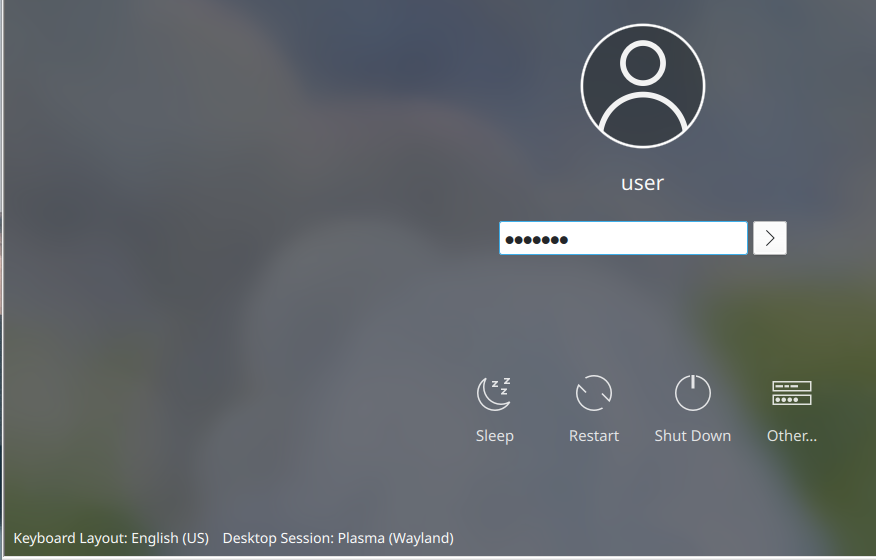
For 825 simulation when logging into the development environment be sure the desktop graphics type is:
"Desktop Session: Plasma (Wayland)"
Click the "Toolbar" item "825 simulator for debugging an app"

Click "Tools", "Settings…" to configure the simulator.

Option card "Details" may be configured.

Simulation in the development environment is achieved by having a build configuration for each app such as "Debug-ARM825-SIM" that compiles the app with the default GCC compiler in the VM to build the app to run on Intel x86 processor. The lib825ev, and other libraries have corresponding "Debug-ARM825-SIM" build configurations. The build configuration must be setup to link to the appropriate library files.
- Right-click on the project in Eclipse and select "Build Configurations", "Manage..."
- Click "New..." and type for the "Name:" input "Debug-ARM825-SIM". Selected "Copy settings from "Existing configuration - Debug-ARM825". Click "OK".
- There is now a duplicated build configuration. We will change this configuration to compile for the virtual machine simulation.
- Right-click on the project and select "Properties...", Select "Settings". Make sure the "Configuration" is selected as "Debug-ARM825-SIM" and click the "Tool Settings" tab.
- Some projects might have "Cross Settings" under "Tool Settings". If so change the "Prefix" to blank "". If the "Cross Settings" is in the project the following steps 6-9 may then be skipped.
- Select "GCC C++ Compiler". Change the "Command:" to "g++". This changes the compiler to compile for PC architecture.
- Select "GCC C++ Linker". Change the "Command:" to "g++". This changes the linker to link the project for the PC architecture. Linking is the process of combining the already compiled code modules and libraries to create the executable.
- In some cases the project may also have a "GCC C Compiler". If so change the command to "gcc".
- In some cases the project may also have a "GCC Assembler". If so change the command to "as".
- Click "Apply".
- Go back to "Tool Settings" and under "GCC C++ Compiler" select "Include paths". Click the green plus icon to add paths. Add the paths "/usr/include/freetype2", "/usr/include/pixman-1" If there is a "GCC C Compiler" section also add these paths to the includes there.
- Under the "GCC C++ Linker" select "Libraries".
- Under "Library search path". Edit existing library paths as appropriate. For example change "${workspace_loc:/lib825ev/Debug-ARM825}" to "${workspace_loc:/lib825ev/Debug-ARM825-SIM}"
- Under "GCC C++ Compiler" select "Preprocessor". Click the green plus icon to add symbols. Add "ARM64=1" and "SIM825=1". These are used for conditional compilation. If there is also a "GCC C Compiler" section select "Preprocessor under that and also add these symbols there.
- Click "Apply and Close".
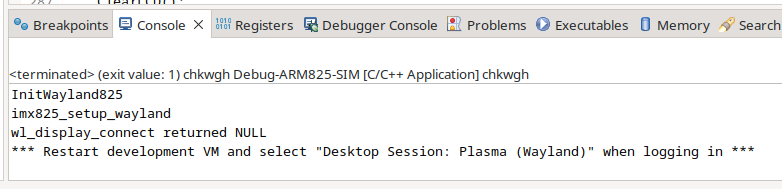
In case the VM is logged in as Plasma (X11) when starting a simulated app the console message will show:

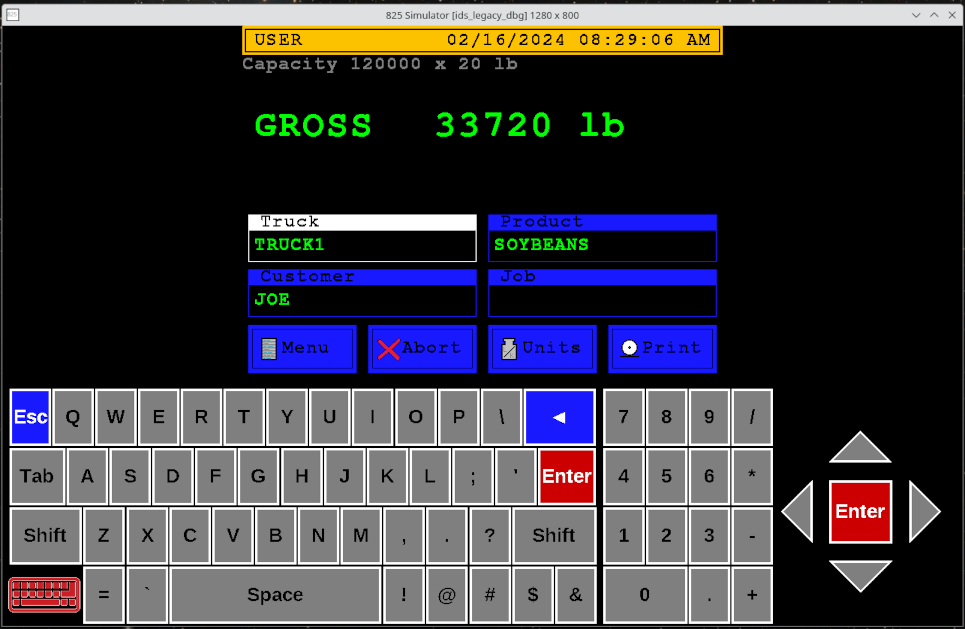
The simulator running with a legacy mode app may appear similar to:

The simulator running with new style app may appear similar to:

Simulator Project Settings Reference
The 825 Gen2 Simulator Project Reference provides helpful information to get 825 Gen2 app simulation up and running quickly.
Attachments (7)
- 825_vm_login_wayland.png (184.7 KB ) - added by 2 years ago.
- 825simulator.png (44.0 KB ) - added by 2 years ago.
- 825simulator_settings.png (48.8 KB ) - added by 2 years ago.
- 825sim_dio_settings.png (15.1 KB ) - added by 2 years ago.
- 825_sim_x11_error.png (27.3 KB ) - added by 2 years ago.
- ids_legacy_sim.png (86.8 KB ) - added by 2 years ago.
- 825batcher_sim.png (55.8 KB ) - added by 2 years ago.
Download all attachments as: .zip