![(please configure the [header_logo] section in trac.ini)](/chrome/site/cardinal.gif)
| Version 4 (modified by , 14 years ago) ( diff ) |
|---|
Creating and using an nControl Ticket
This guide will walk you through the steps of creating an nControl ticket and transferring it to your Cardinal 825 indicator.
Creating the Ticket
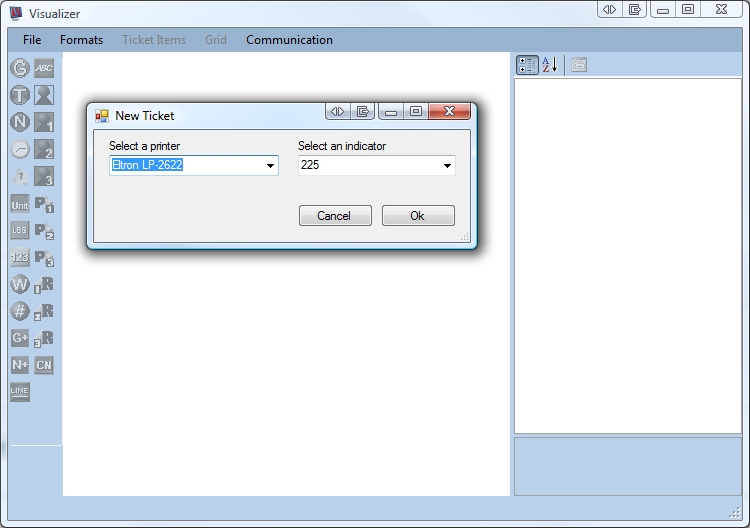
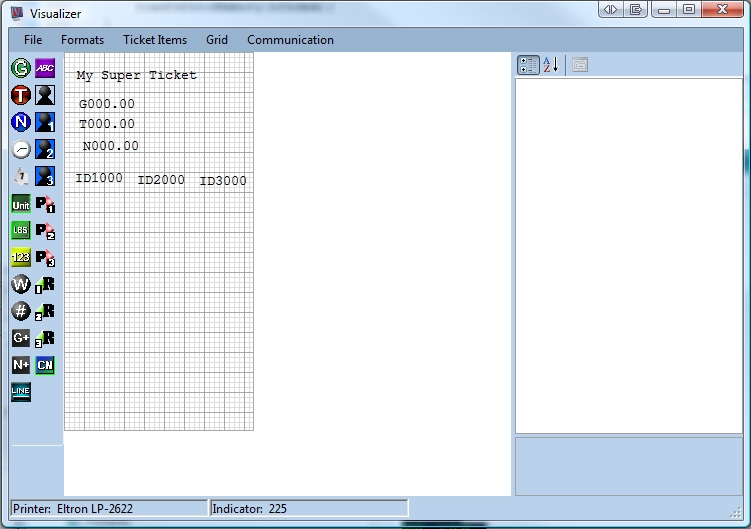
- Start nControl and choose File -> New. Pick your printer type and then choose any of the 2xx series indicators from the dropdown.

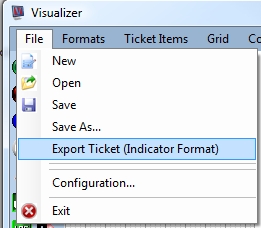
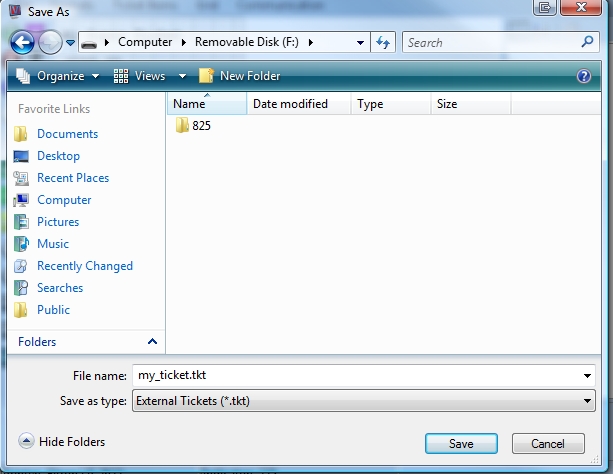
- Create your ticket and then do File -> Export Ticket (indicator format). Save the file to a USB thumb drive. It is recommended that you do not use spaces in the filename.


Installing the Ticket
Using Filemanager ==
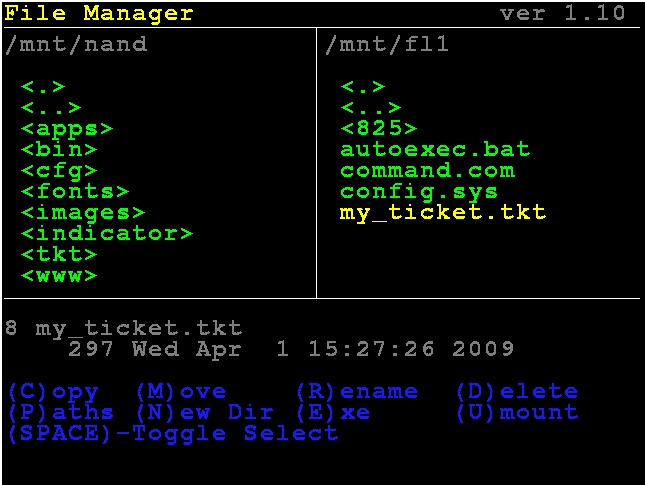
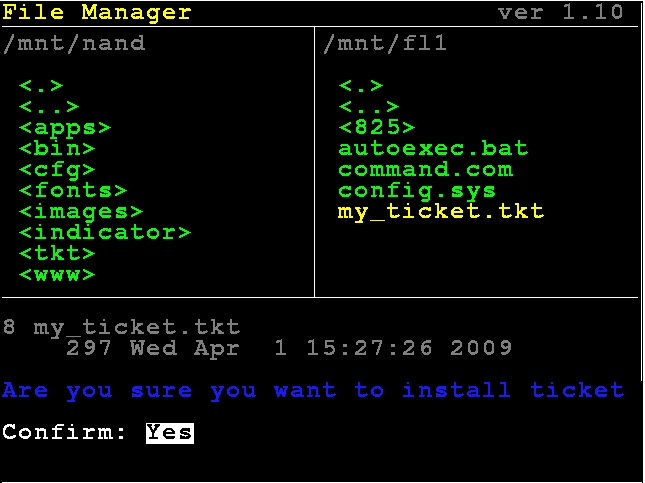
- Start the File Manager application and browse to the /mnt/flx folder where x is the usb device your ticket is on.

- Highlight the ticket file and press ENTER. Press Y to confirm and then press ENTER to install the ticket.

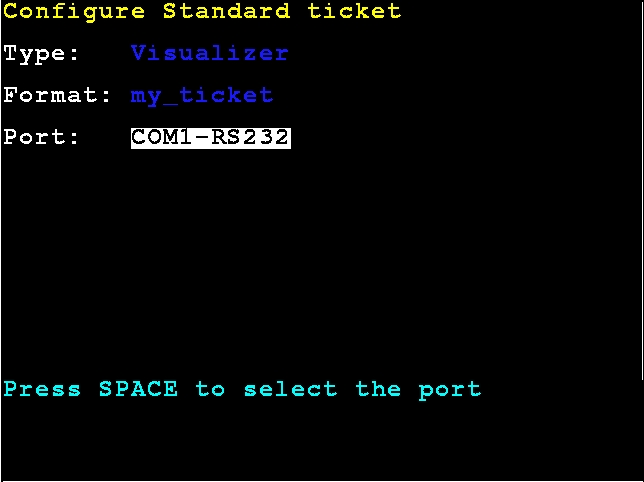
- Choose a slot to install the ticket to. For this guide, we will install to the standard print slot. Press ENTER.

- You can leave the Type and Format as the default values. Change the port by pressing [SPACE] to toggle through the available ports. Once you are satisified press ENTER.

- The indicator returns to the file manager. Ticket installation is complete.
Using the Transfer Utility
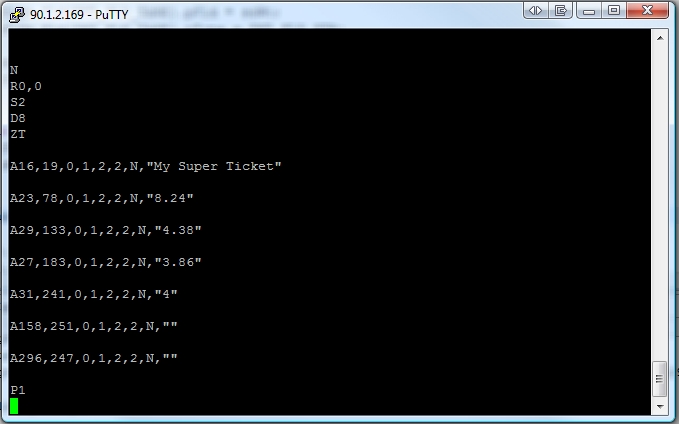
Output
Below is the screenshot of the ticket printed to a terminal program. The output was captured from Truck / ID Storage.

Attachments (9)
- screenshot.1.jpeg (99.2 KB ) - added by 17 years ago.
- screenshot.2.jpeg (38.9 KB ) - added by 17 years ago.
- screenshot.3.jpeg (118.2 KB ) - added by 17 years ago.
- screenshot.4.jpeg (142.3 KB ) - added by 17 years ago.
- screenshot.5.jpeg (128.7 KB ) - added by 17 years ago.
- screenshot.6.jpeg (43.8 KB ) - added by 17 years ago.
- screenshot.7.jpeg (64.2 KB ) - added by 17 years ago.
- screenshot.8.jpeg (75.2 KB ) - added by 17 years ago.
- screenshot.9.jpeg (157.5 KB ) - added by 17 years ago.
Download all attachments as: .zip
Note:
See TracWiki
for help on using the wiki.