![(please configure the [header_logo] section in trac.ini)](/chrome/site/cardinal.gif)
| Version 3 (modified by , 17 years ago) ( diff ) |
|---|
Setup
Setup 825 Weight Indicator
- Connect serial port for debug messages.
- Connect Ethernet port for downloads and debugging
Make sure 825 indicator has bootloader and Linux kernel installed to flash. If necessary use USB-BDM and CodeWarrior or CFFlasher to program the flash. Power on the indicator and use bootloader to configure network settings, IP address, gateway, etc. Download Linux romfs image to flash or configure for NFS (Network File System) for testing with 825 indicator file system residing on test PC. Startup indicator Linux, debug serial port will show startup messages.
Setup Build Environment
- Free:
- GCC compiler – use command line tools – Must use Linux host, or Cygwin. GDB debugger, DDD graphical debugger.
- Purchase:
- CodeWarrior – MetroTrk debugger
- Sourcery G++ Coldfire uClinux version
Use Hyperterminal, Minicom or some other communications program for serial port debugging.
USB – BDM CodeWarrior or CF-Flasher is needed to flash boot-loader for new board.
Environment Setup
About
This document will discuss in detail how to setup your environment to program the Cardinal 825 Digital Weight Indicator.
Features of the Cardinal 825 Programming Environment
- Subversion integration for instant access to the latest source code.
- Full featured Eclipse IDE which is quickly becoming the standard for developers everywhere.
- Mylyn integration with the Cardinal 825 Tech site for quick access to tickets and progress.
- Full debugging capabilities (coming soon).
Required Files
The following files should be included on the 8GB USB flash drive that was sent with your order.
- VMware Player - Required to run the Cardinal Fedora 825 Programming Environment.
- Cardinal Fedora 11 825 programming package
Installing the Environment
- Insert the 8GB USB flash drive into your computer.
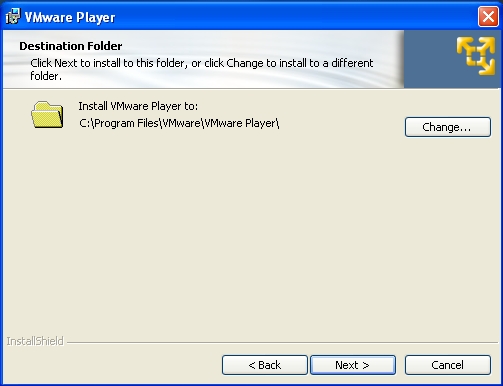
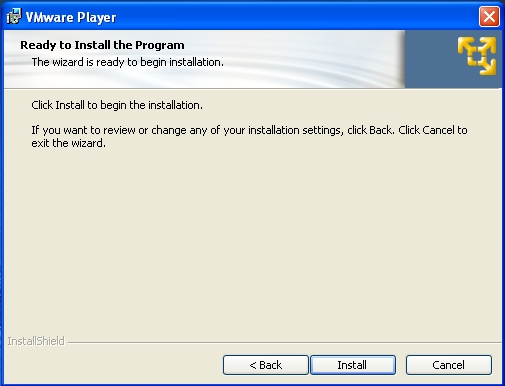
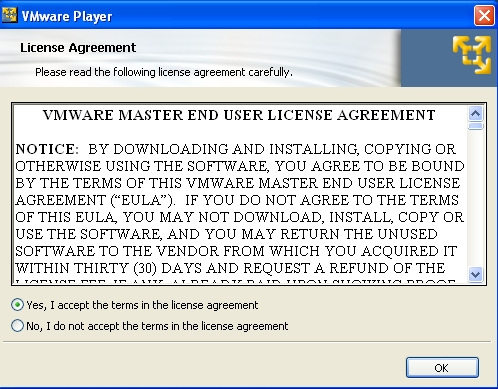
- Install VMware Player by double clicking on the icon in the directory of the flash drive.
- Follow the steps listed choosing the default values to install.


- Reboot your computer if required.

- Copy the Cardinal 825 Programming Environment package to your computer in any directory you wish.
Starting the Environment
- Start VMware Player by going to Start -> Programs -> VMware and choosing VMware Player

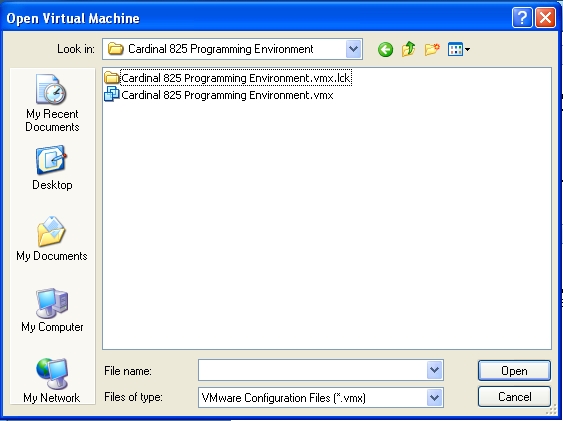
- Start the Cardinal 825 Programming Environment by choosing Open and choosing the Cardinal 825 Programming Environment.vmx file from the directory you extracted it to in "Installing the Environment step 5".


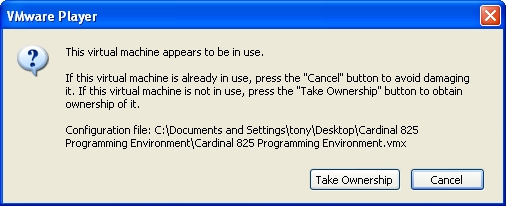
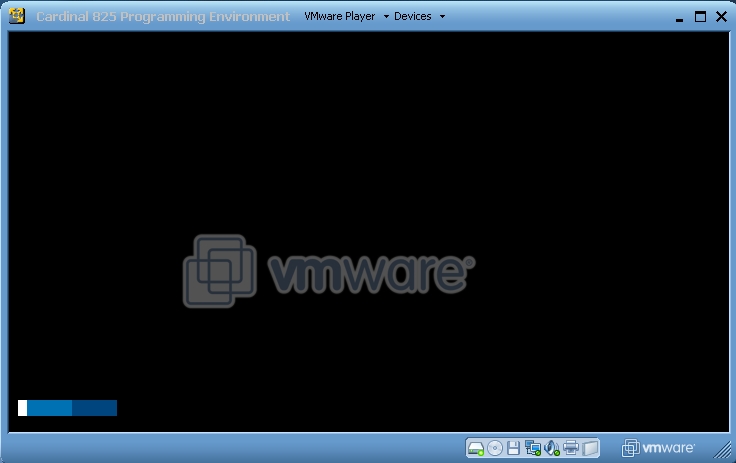
- VMware will start.

- Press Take Ownership when the prompt appears.

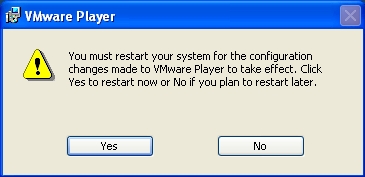
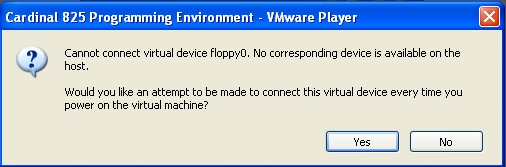
- If this error appears press No.

- VMware will power up Fedora Core 11.

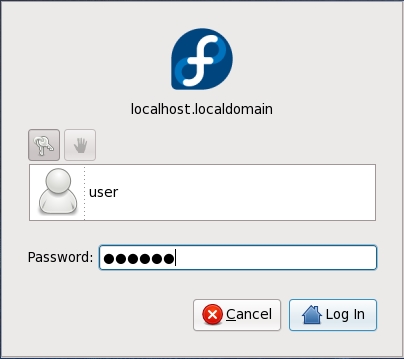
- Login by clicking on user, entering password 123456 and clicking Login.


- The Cardinal 825 Programming Environment will start automatically.

Using the Environment
Welcome Screen
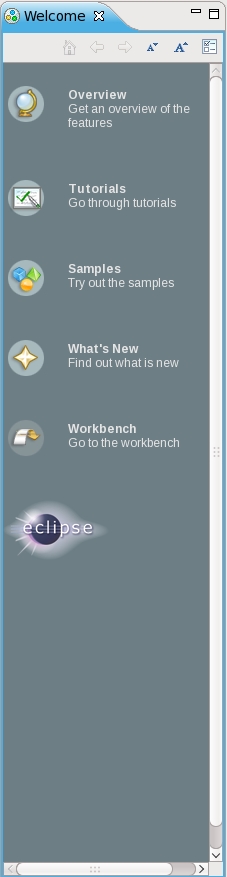
The welcome screen gives you basic information about the Eclipse IDE. You can choose to view the information by clicking on the individual images or simply close it by pressing the X button in the corner.

Project Explorer
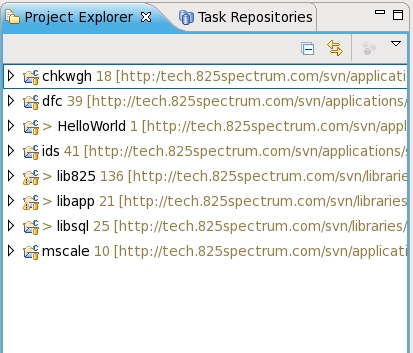
The project explorer gives you an overview of projects that are in your workspace. The Cardinal 825 Programming Environment is set to use /home/user/Workspace as the default workspace. You can change this by selecting File > Switch Workspace.

On the initial startup you will notice eight projects which have been preloaded for you.
- chkwgh - Checkweigher
- dfc - DFC Batcher
- HelloWorld - Tutorial application
- ids - Truck / ID Storage
- lib825 - 825 library
- libapp - application library
- libsql - SQL database library
- mscale - Multi-scale
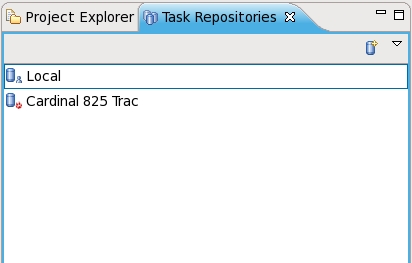
Task Repositories
Task repositories list the available bug tracking repositories. The Cardinal 825 Trac repository has been setup for you but you will need to enter your individual username and password for the Trac site (the one you used to login to the Wiki).

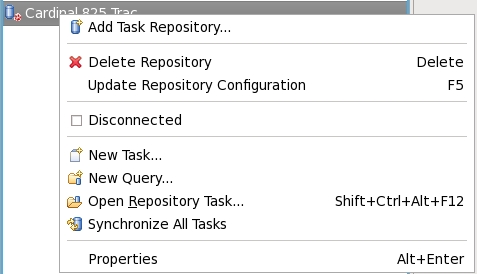
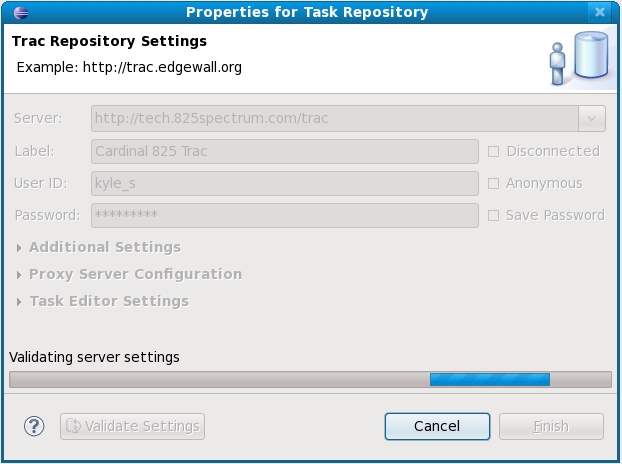
- Right-click on Cardinal 825 Trac and choose Properties.

- Uncheck anonymous and enter your validation credentials. When you are finished, press Validate Settings in the bottom-left.


- If you receive no errors you can press the "Save Password" checkbox and press Finish to save the settings.
Task Queries
Task queries allows you to generate custom queries to view tickets for the Cardinal 825.
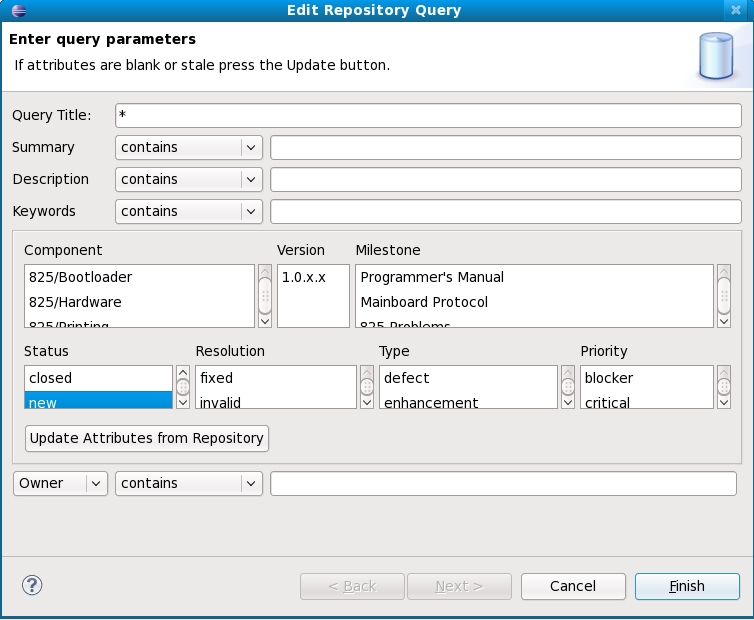
- Right click on the Cardinal 825 Trac repository and choose New Query....

- We're going to create a query that will show all open tickets for the 825. Enter the information as shown in the screenshot and for Status choose all available except for closed. Press finish when you are done.

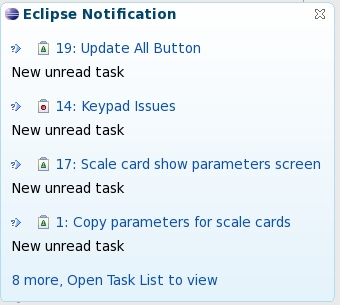
- A notification will appear to show you new tickets are available. This works fine but if you are forgetful like me you need a more permanent solution.

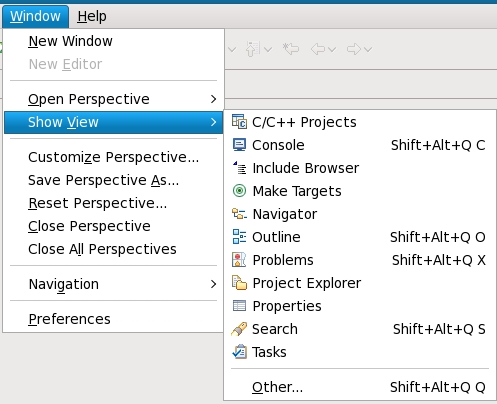
- Choose Window -> Show View -> Other...

- Choose Task List from the Tasks folder and press OK.

- Task List will now display on the bottom pane. Let's click and drag it next to the Task Repositories on the top-left.


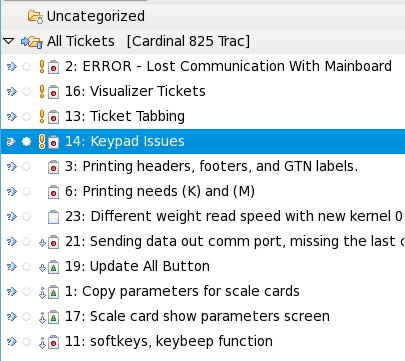
- You will now have two categories. One is Uncategorized which is all tickets that we do not have a query for. The other is named * which is the query we just created. That's not a very intuitive name so let's rename it. Right-click on the * and choose rename. Enter All Tickets and press enter.

Subversion
Every project distributed with the Cardinal 825 Programming Environment comes attached to a Subversion repository. Subversion repositories allow you to get the most up to date source code with the click of a button.
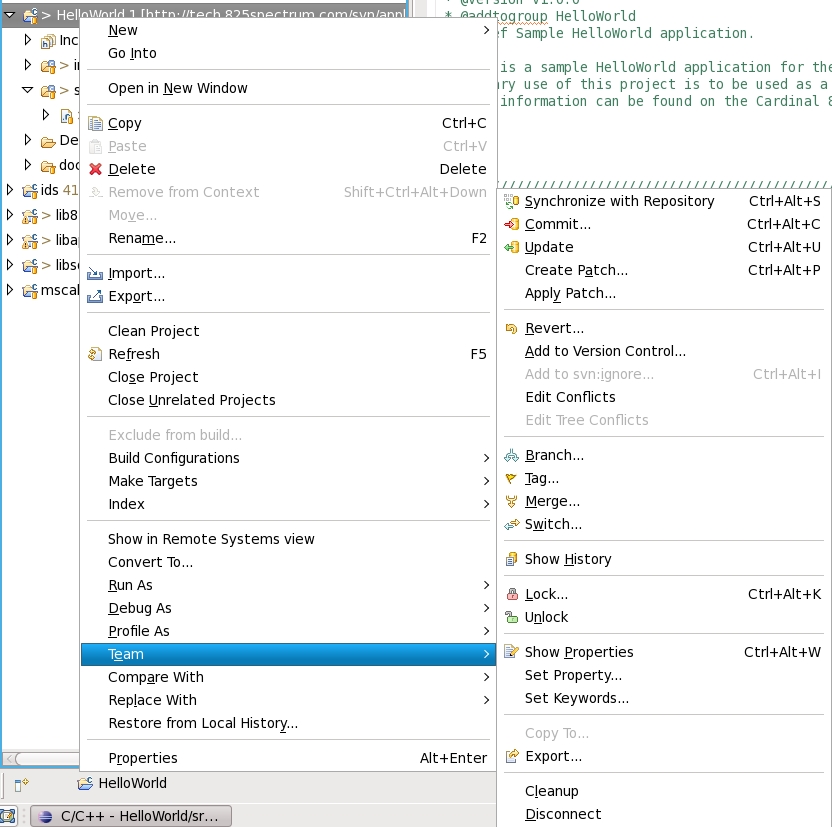
- Right-click on the HelloWorld project and choose Team -> Update.

- You now have the latest available source code for the HelloWorld project.
Cardinal recommends creating your own repositories for your projects. For more information on doing so please see Google's Listing on Subversion Guides.
Attachments (37)
- screenshot.1.jpg (80.1 KB ) - added by 17 years ago.
- screenshot.2.jpg (63.5 KB ) - added by 17 years ago.
- screenshot.3.jpg (60.0 KB ) - added by 17 years ago.
- screenshot.4.jpg (65.7 KB ) - added by 17 years ago.
- screenshot.5.jpg (64.1 KB ) - added by 17 years ago.
- screenshot.6.jpg (66.3 KB ) - added by 17 years ago.
- screenshot.7.jpg (38.6 KB ) - added by 17 years ago.
- screenshot.9.jpg (172.5 KB ) - added by 17 years ago.
- screenshot.10.jpg (99.5 KB ) - added by 17 years ago.
- screenshot.11.jpg (97.6 KB ) - added by 17 years ago.
- screenshot.12.jpg (92.0 KB ) - added by 17 years ago.
- screenshot.13.jpg (65.0 KB ) - added by 17 years ago.
- screenshot.14.jpg (52.4 KB ) - added by 17 years ago.
- screenshot.15.jpg (52.3 KB ) - added by 17 years ago.
- screenshot.16.jpg (40.1 KB ) - added by 17 years ago.
- screenshot.17.jpg (42.0 KB ) - added by 17 years ago.
- screenshot.18.jpg (101.1 KB ) - added by 17 years ago.
- screenshot.19.jpg (111.0 KB ) - added by 17 years ago.
- screenshot.20.jpg (30.2 KB ) - added by 17 years ago.
- screenshot.21.jpg (53.4 KB ) - added by 17 years ago.
- screenshot.22.jpg (105.5 KB ) - added by 17 years ago.
- screenshot.23.jpg (97.4 KB ) - added by 17 years ago.
- screenshot.24.jpg (8.9 KB ) - added by 17 years ago.
- screenshot.25.jpg (63.3 KB ) - added by 17 years ago.
- screenshot.27.jpg (97.9 KB ) - added by 17 years ago.
- screenshot.29.jpg (59.7 KB ) - added by 17 years ago.
- screenshot.30.jpg (105.7 KB ) - added by 17 years ago.
- screenshot.31.jpg (126.9 KB ) - added by 17 years ago.
- screenshot.32.jpg (101.9 KB ) - added by 17 years ago.
- screenshot.33.jpg (170.1 KB ) - added by 17 years ago.
- screenshot.34.jpg (71.6 KB ) - added by 17 years ago.
- screenshot.35.jpg (265.6 KB ) - added by 17 years ago.
- FileZilla_spectrum.png (18.9 KB ) - added by 5 years ago.
- FileZilla_spectrum_cert.png (29.2 KB ) - added by 5 years ago.
- FileZilla_spectrum_files.png (8.9 KB ) - added by 5 years ago.
- FileZilla_spectrum_download.png (8.0 KB ) - added by 5 years ago.
- FileZilla_spectrum_progress2.png (7.7 KB ) - added by 5 years ago.